
I have been using Visual Studio Online for my personal projects for the last few months. I like having a build server and Kanban board without having to do much more than lift a finger.
I also like the Git support. I am hosting Windows Phone, Windows Store and iOS software projects. As a side note, you would think TFS is not an option for iOS projects, but you would be wrong. There is a command line utility called git-tf you can use on the Mac. This doesn’t directly integrate with Xcode though, like a Git repo does.
Below I will go through the steps to create Git repository on Visual Studio Online and start using it in Visual Studio.
To create a Git repository in Visual Studio Online, first create yourself an account. A basic account is free and gives you 5 users, unlimited repositories, Scrum project tracking and builds, as well as integration with Visual Studio, Xcode and Eclipse.
Under Recent Projects & Teams, click New. The following dialog will appear.

Create a Git repository
Now switch over to Visual Studio. Select and clone the new repository.

You may be prompted to install 3rd party Git command prompt tools. Do this, you will need it.
The Git tools installation uses the Web Platform Installer.

Now back to Visual Studio. From the Team Explorer tab, select New… from the Solutions pane to create a new solution in that repository.
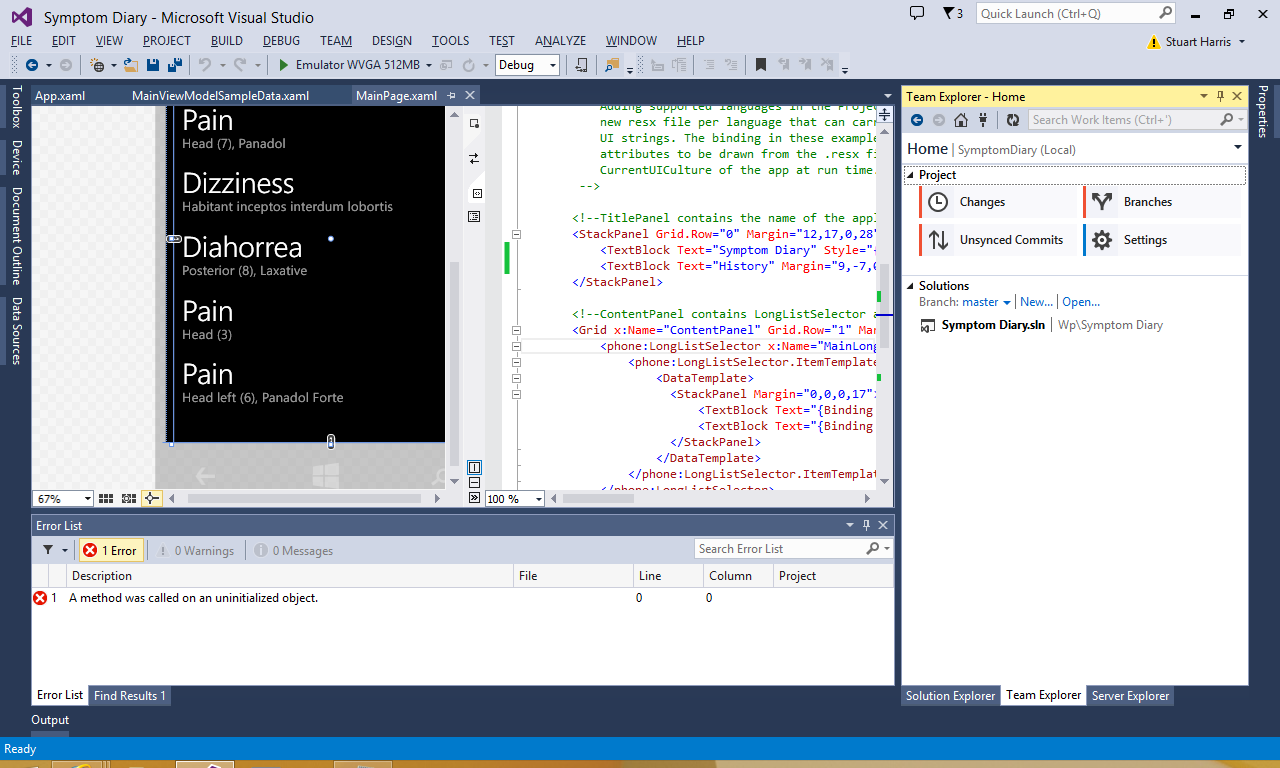
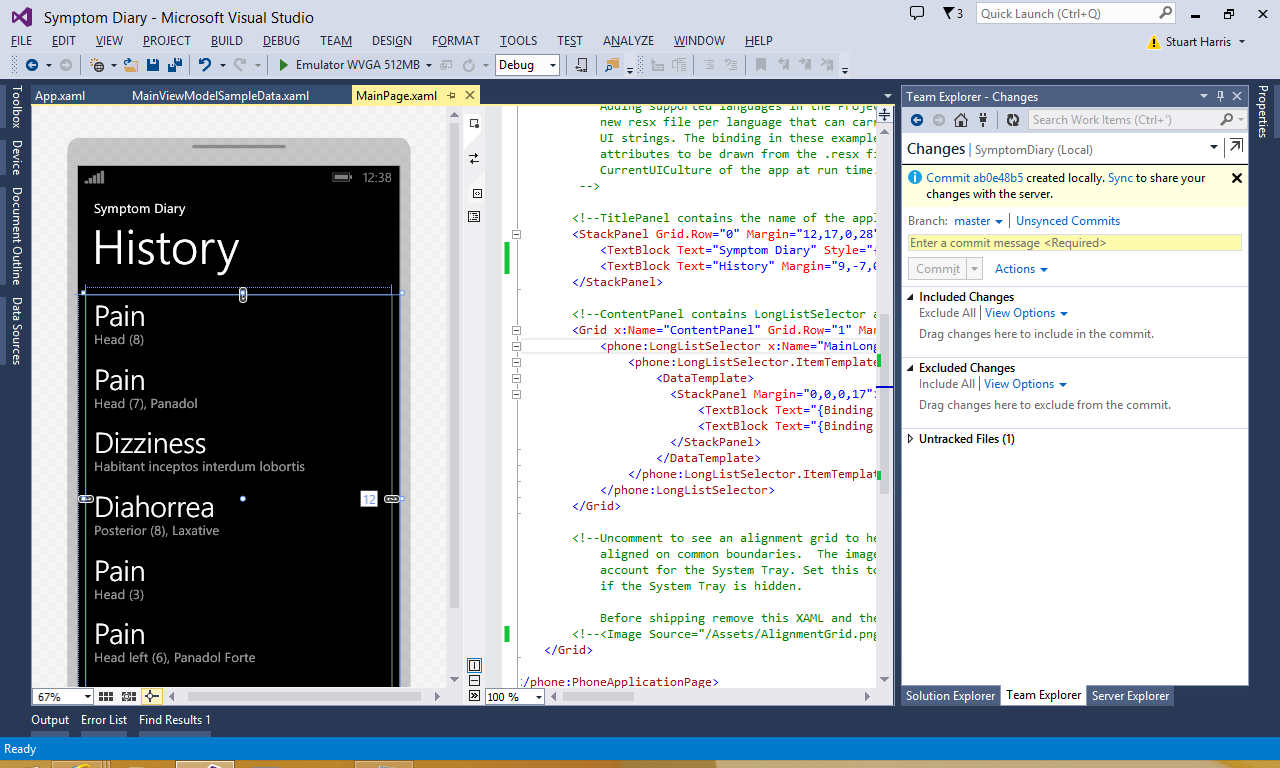
Now once you’ve created your solution and possibly made some changes, you need to commit your changes. With Git, you must first commit your changes locally, then push them to the remote repository. On the Team Explorer tab, view Changes. Enter a commit message and click on Commit.
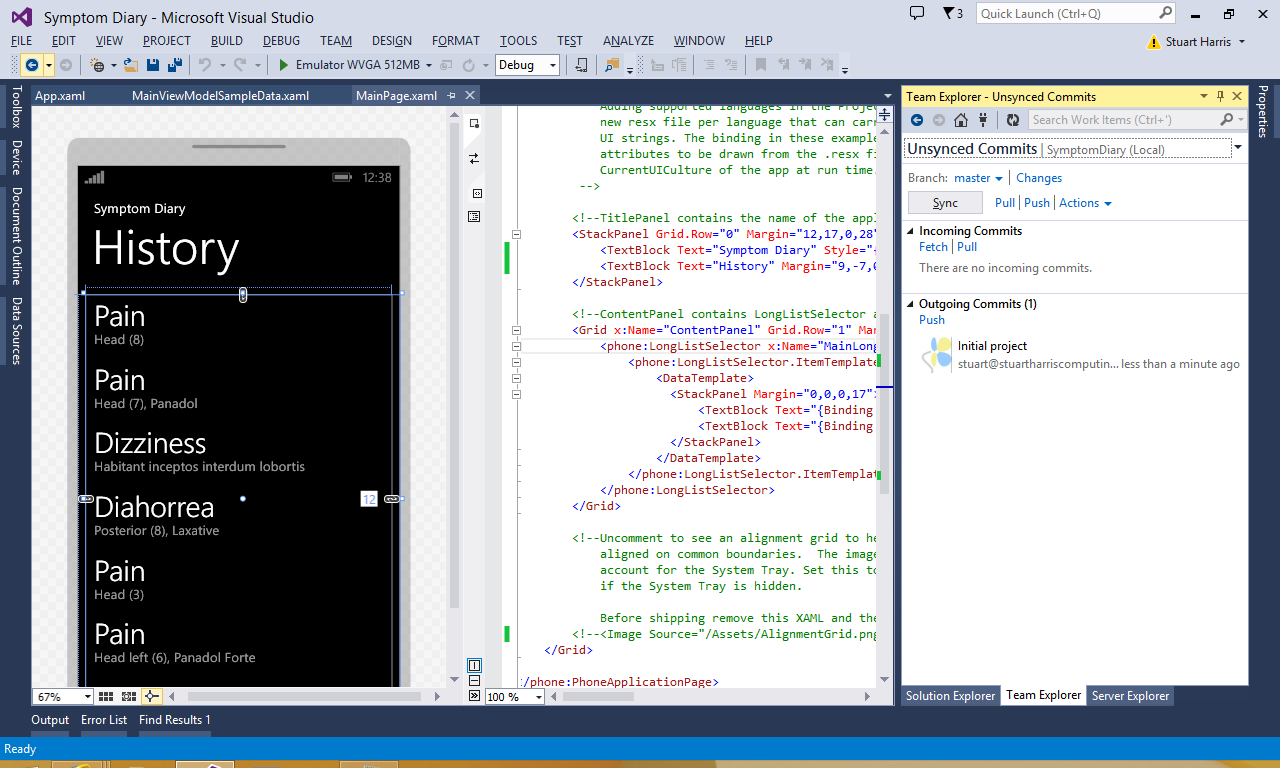
Using sync changes will pull and merge remote changes and push your changes to remote. Select Sync, or Unsynced Commits.
There is alot more to know about how to use Git. But this is essentially how Visual Studio works with a Git repository from Visual Studio Online. Note that the Git repository does not have to be from Visual Studio Online either.
